Versions:
- Forge
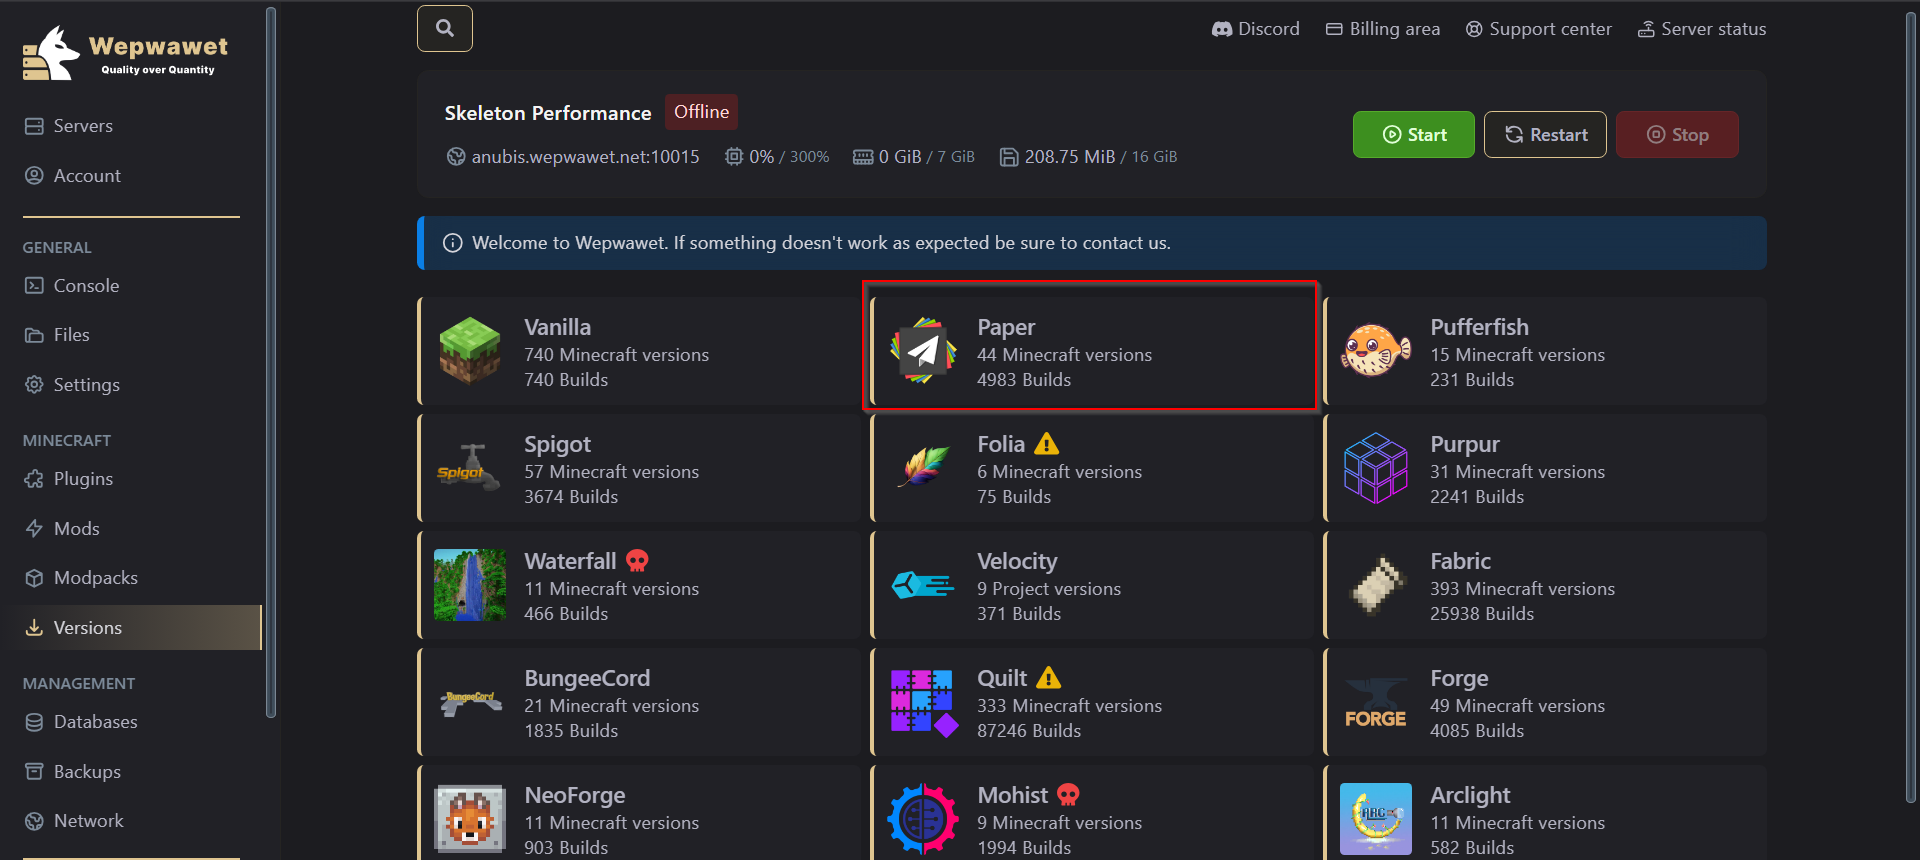
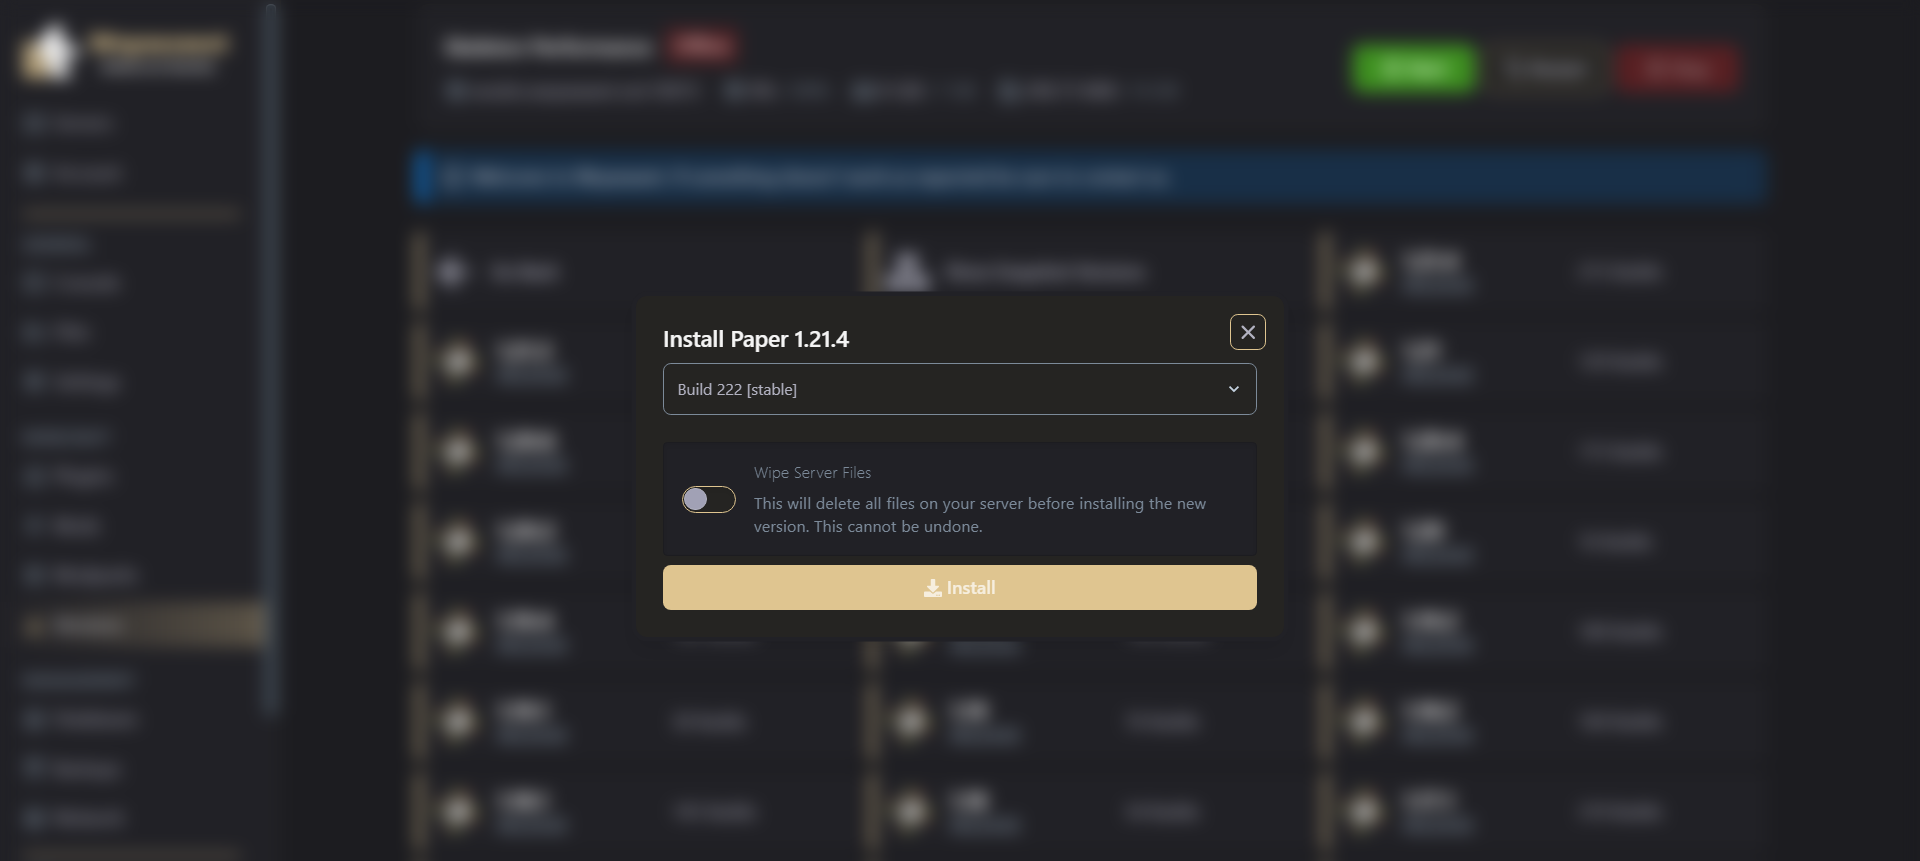
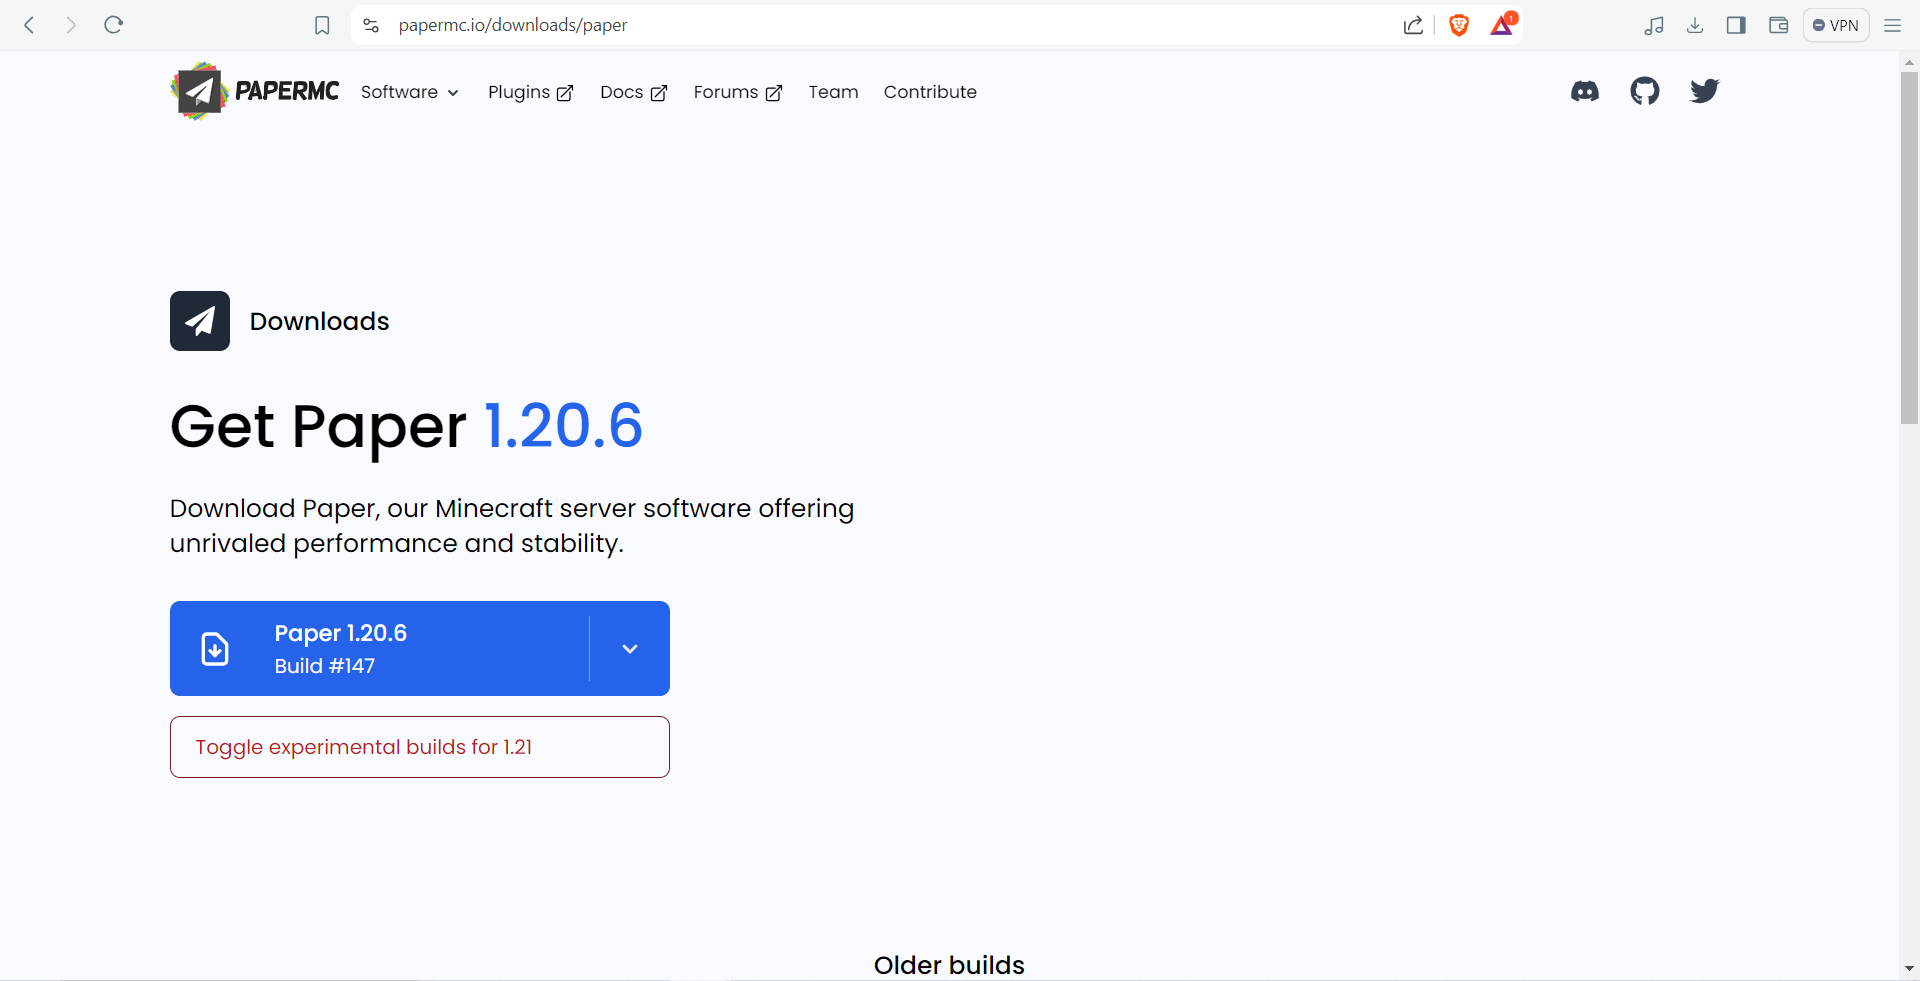
- Paper
- Spigot
- Manual Installation
First Step
Download the Forge Installer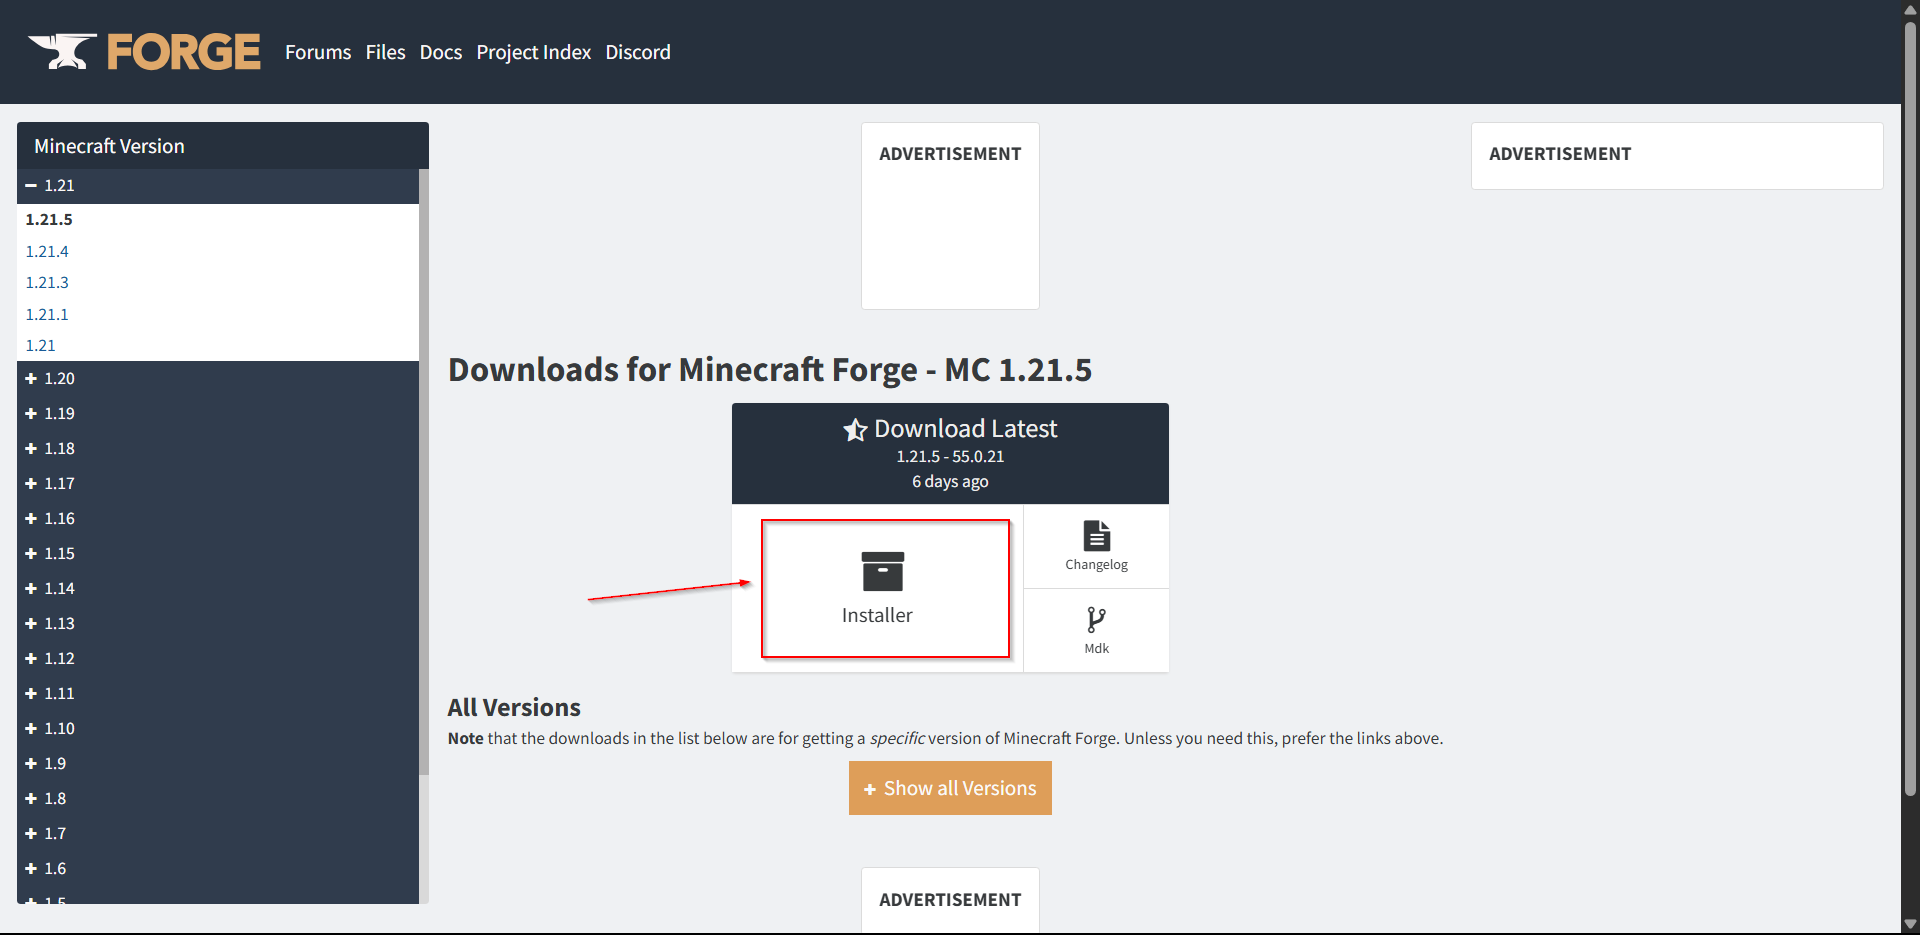
Second Step
Run the Installer and click Install Server and change the location of where you would like the files to be extracted into.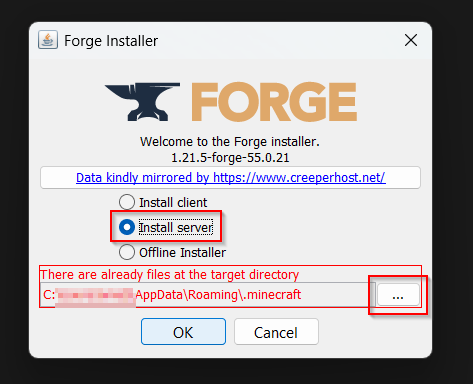

Fifth Step
Copy the unix_args.txt file and paste it in the folder where you extracted all the forge files into.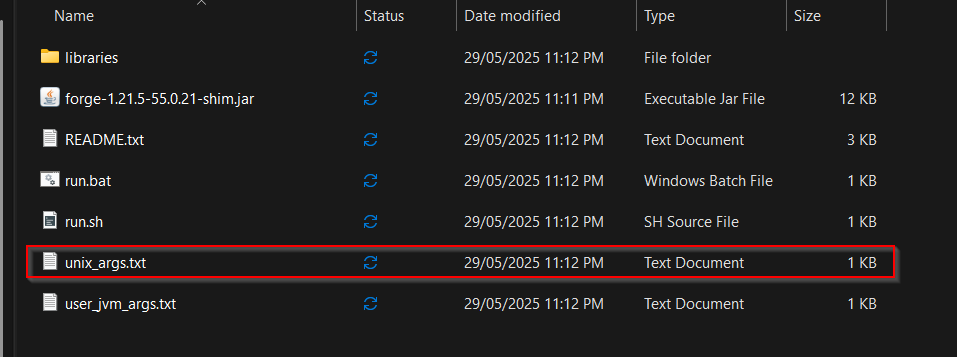
Seventh Step
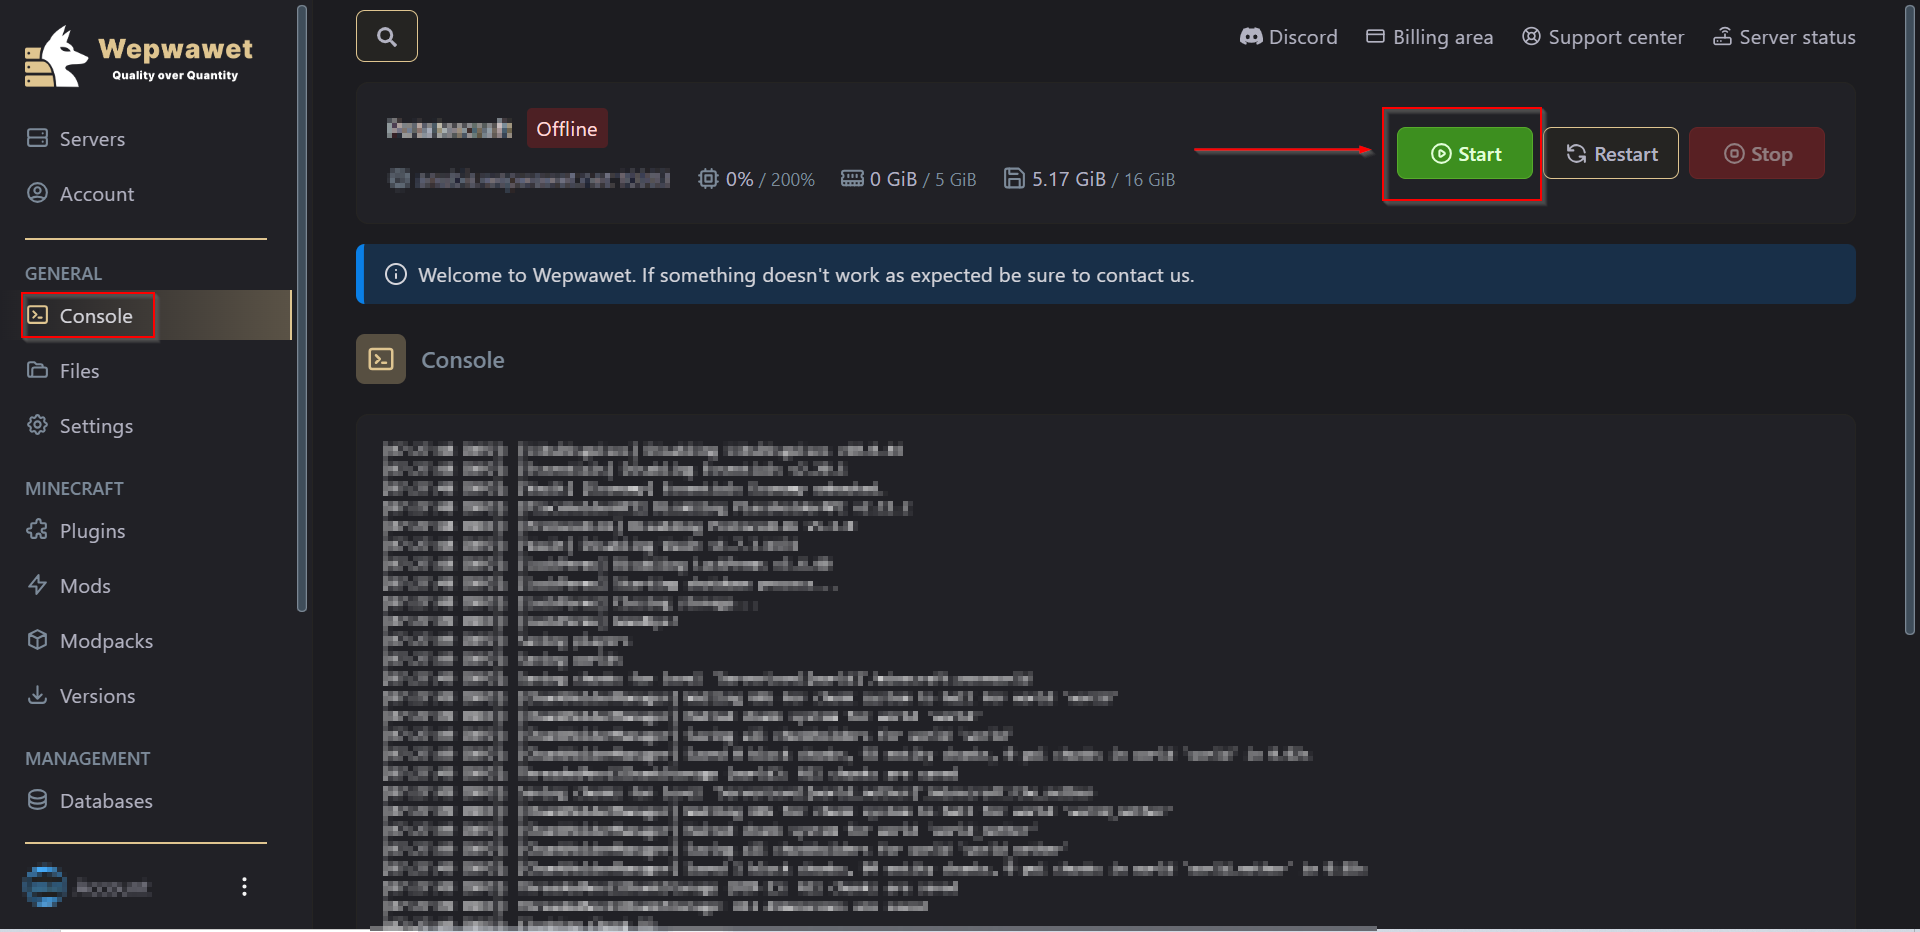
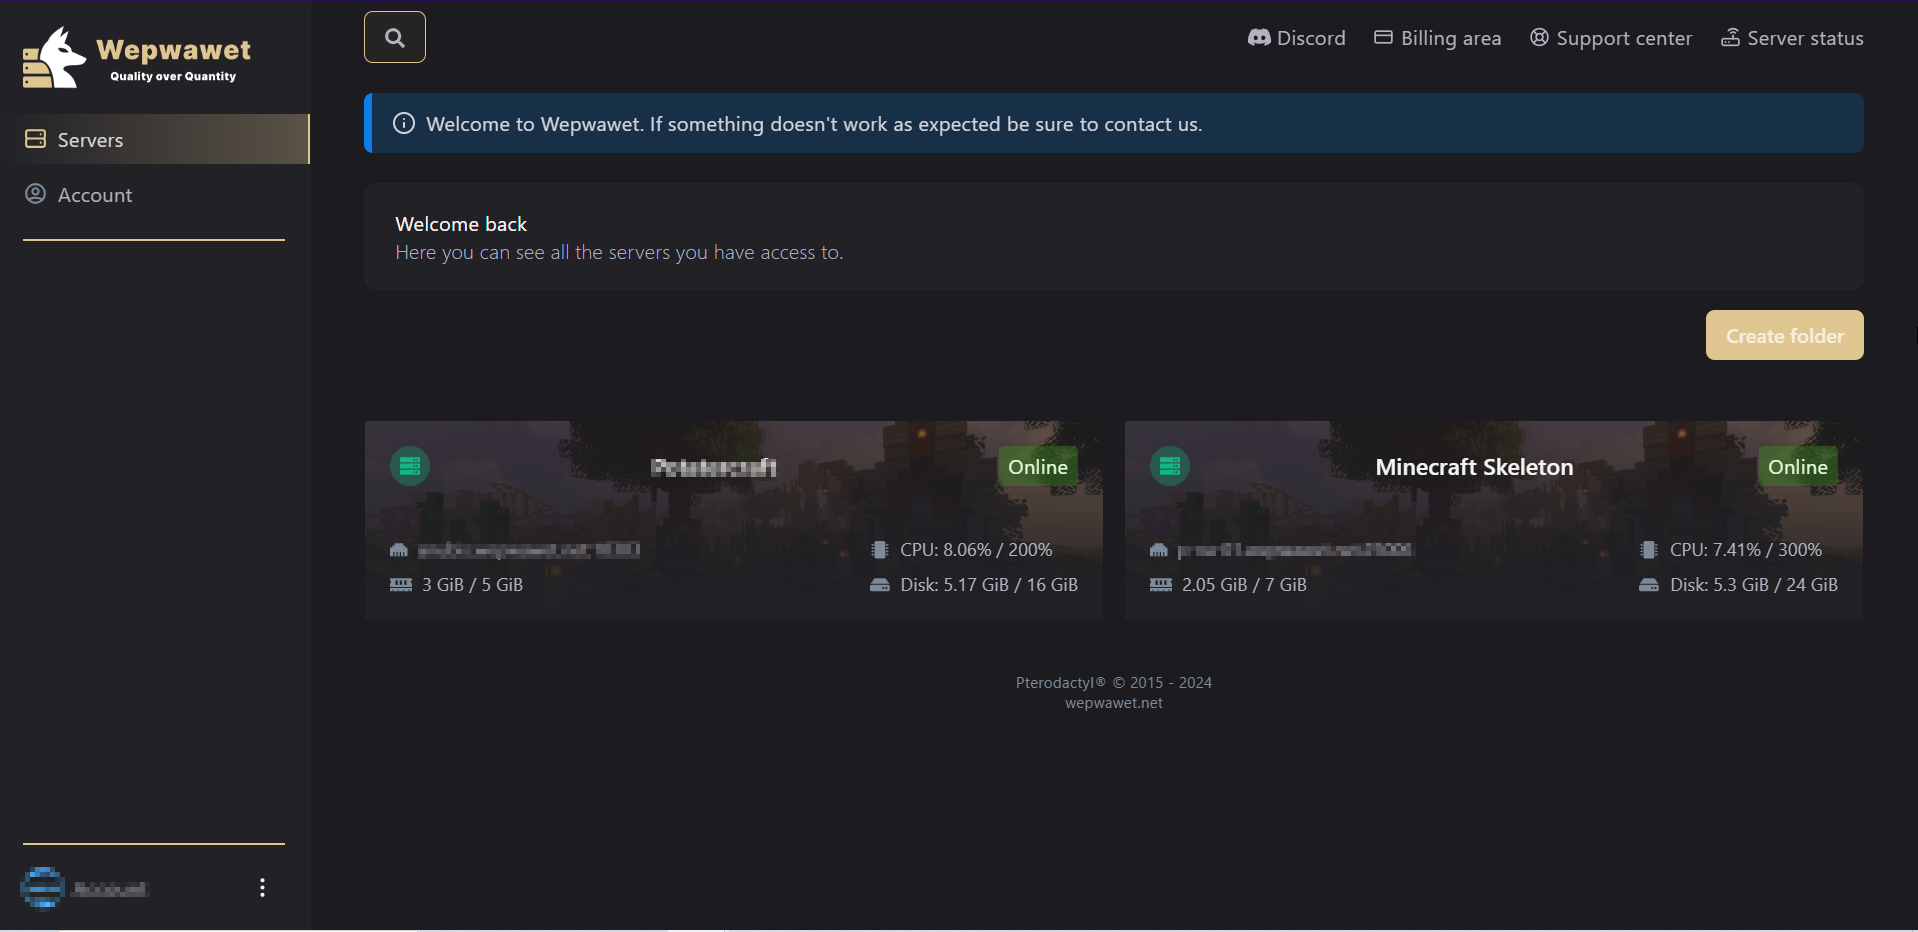
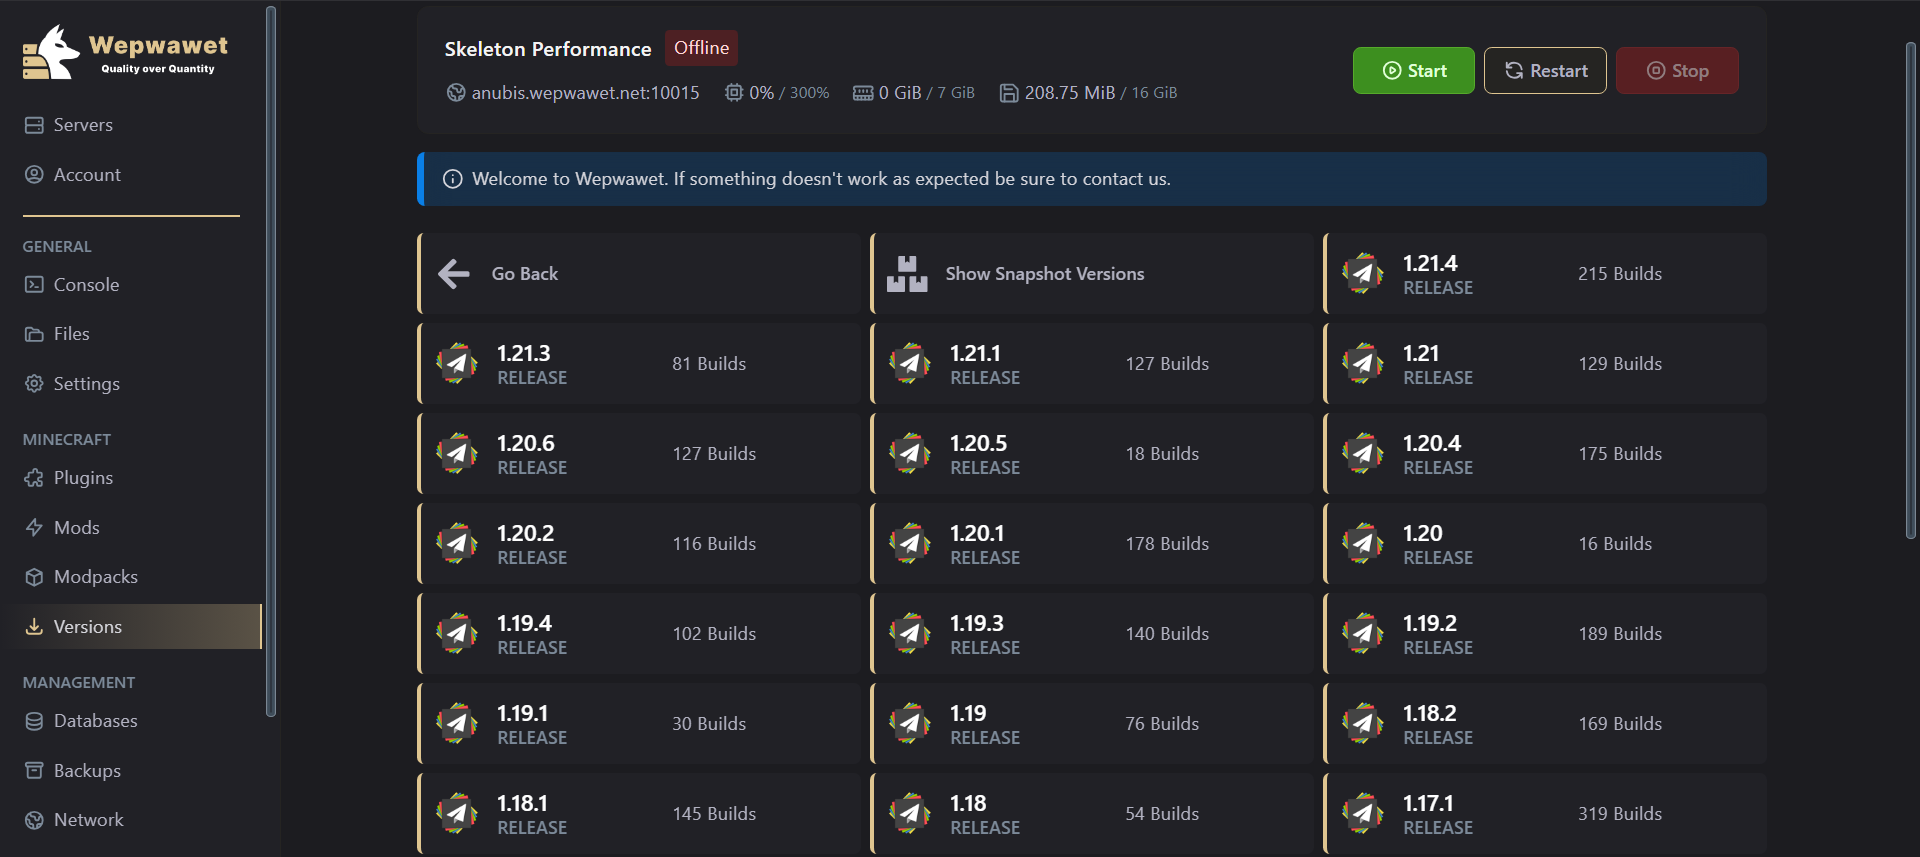
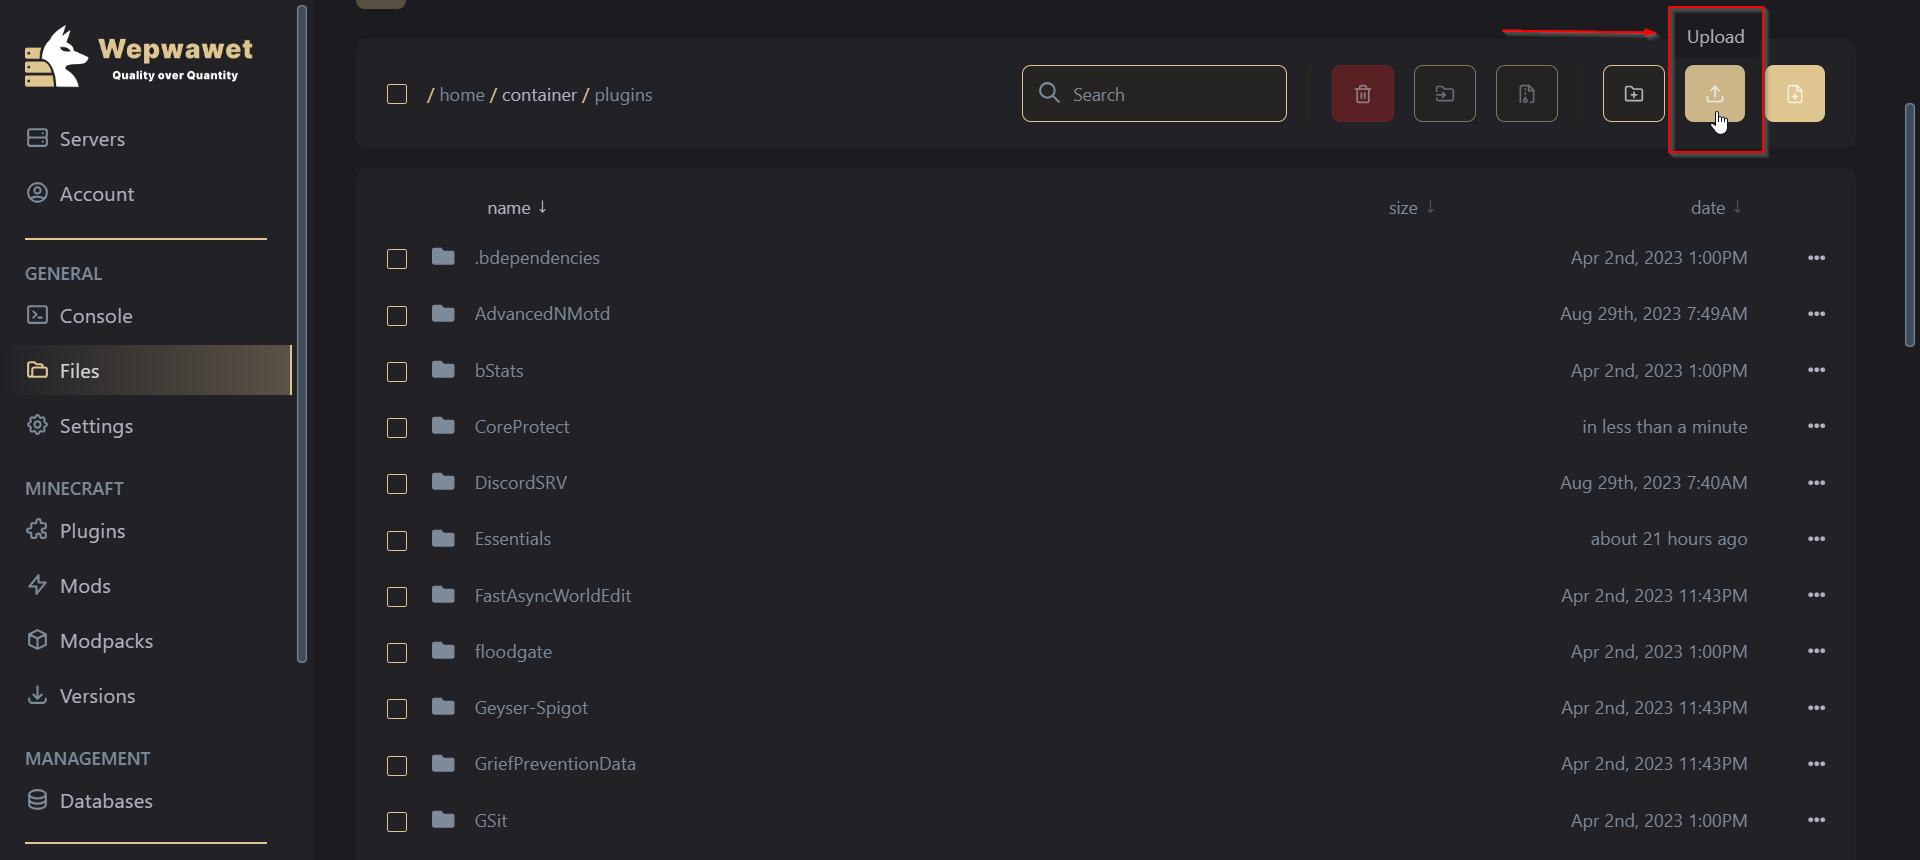
Head over to your Wepwawet Panel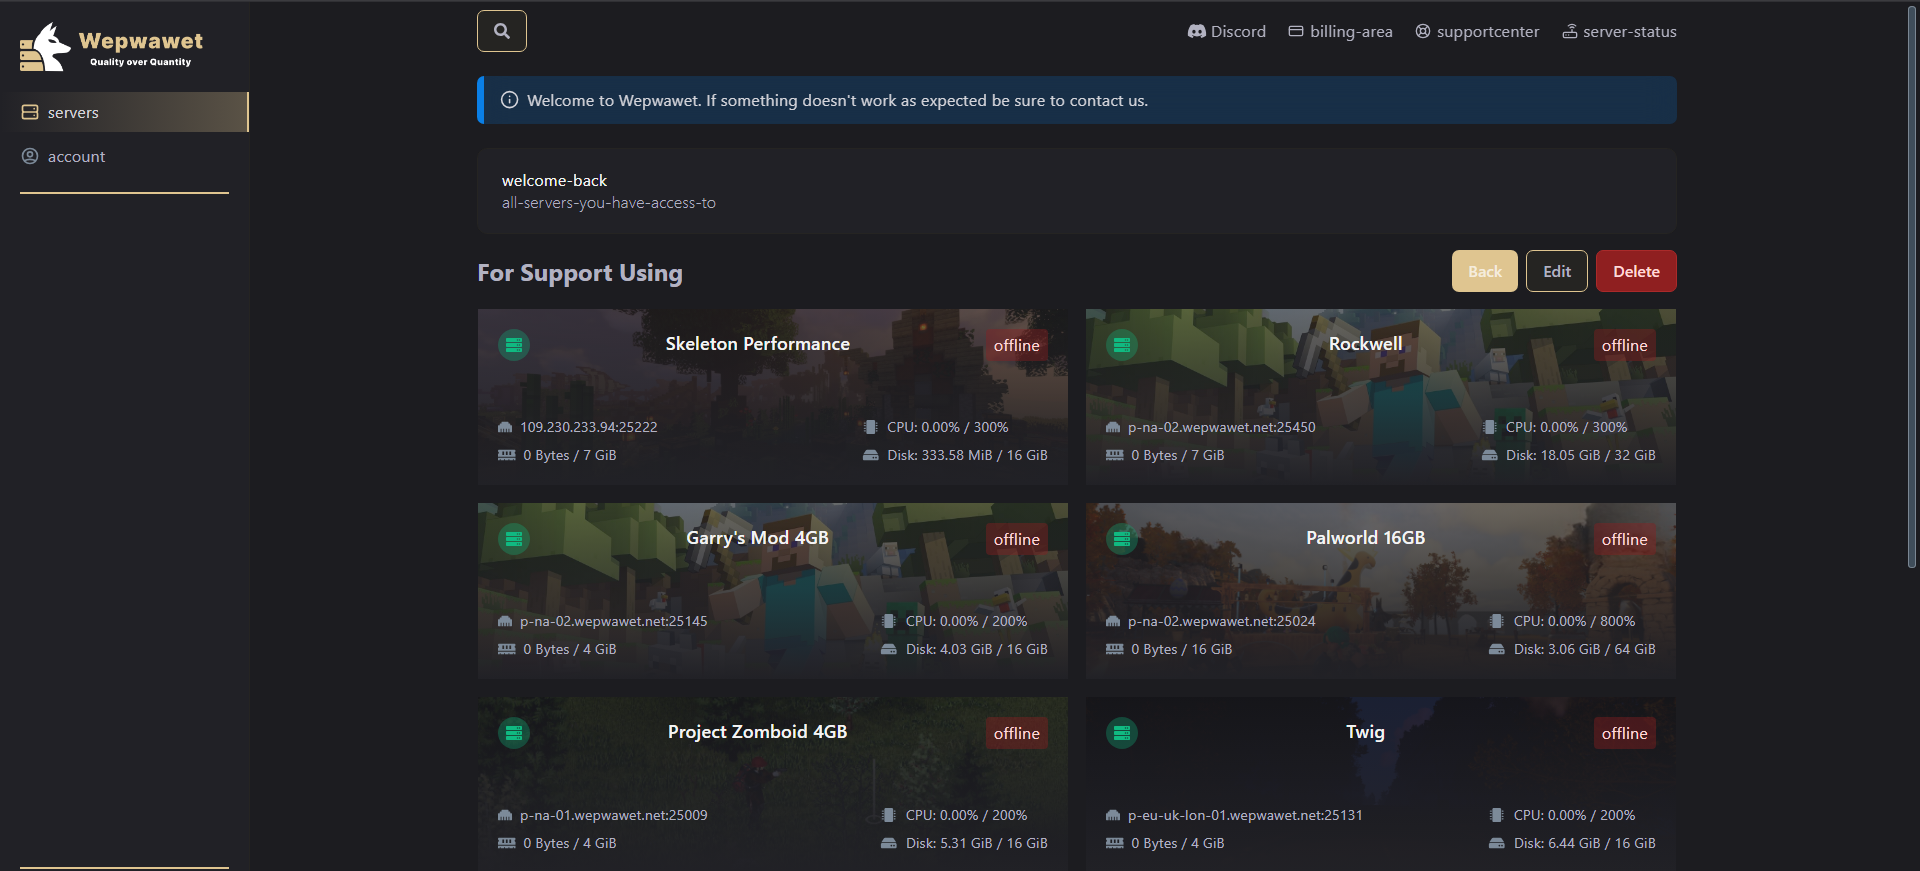
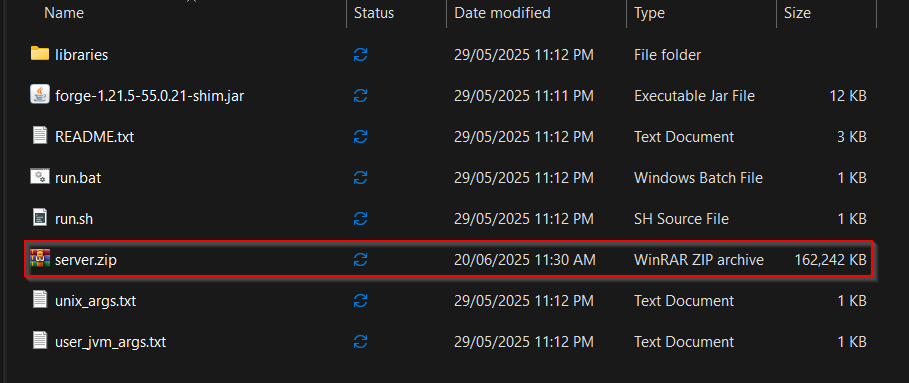
Eighth Step
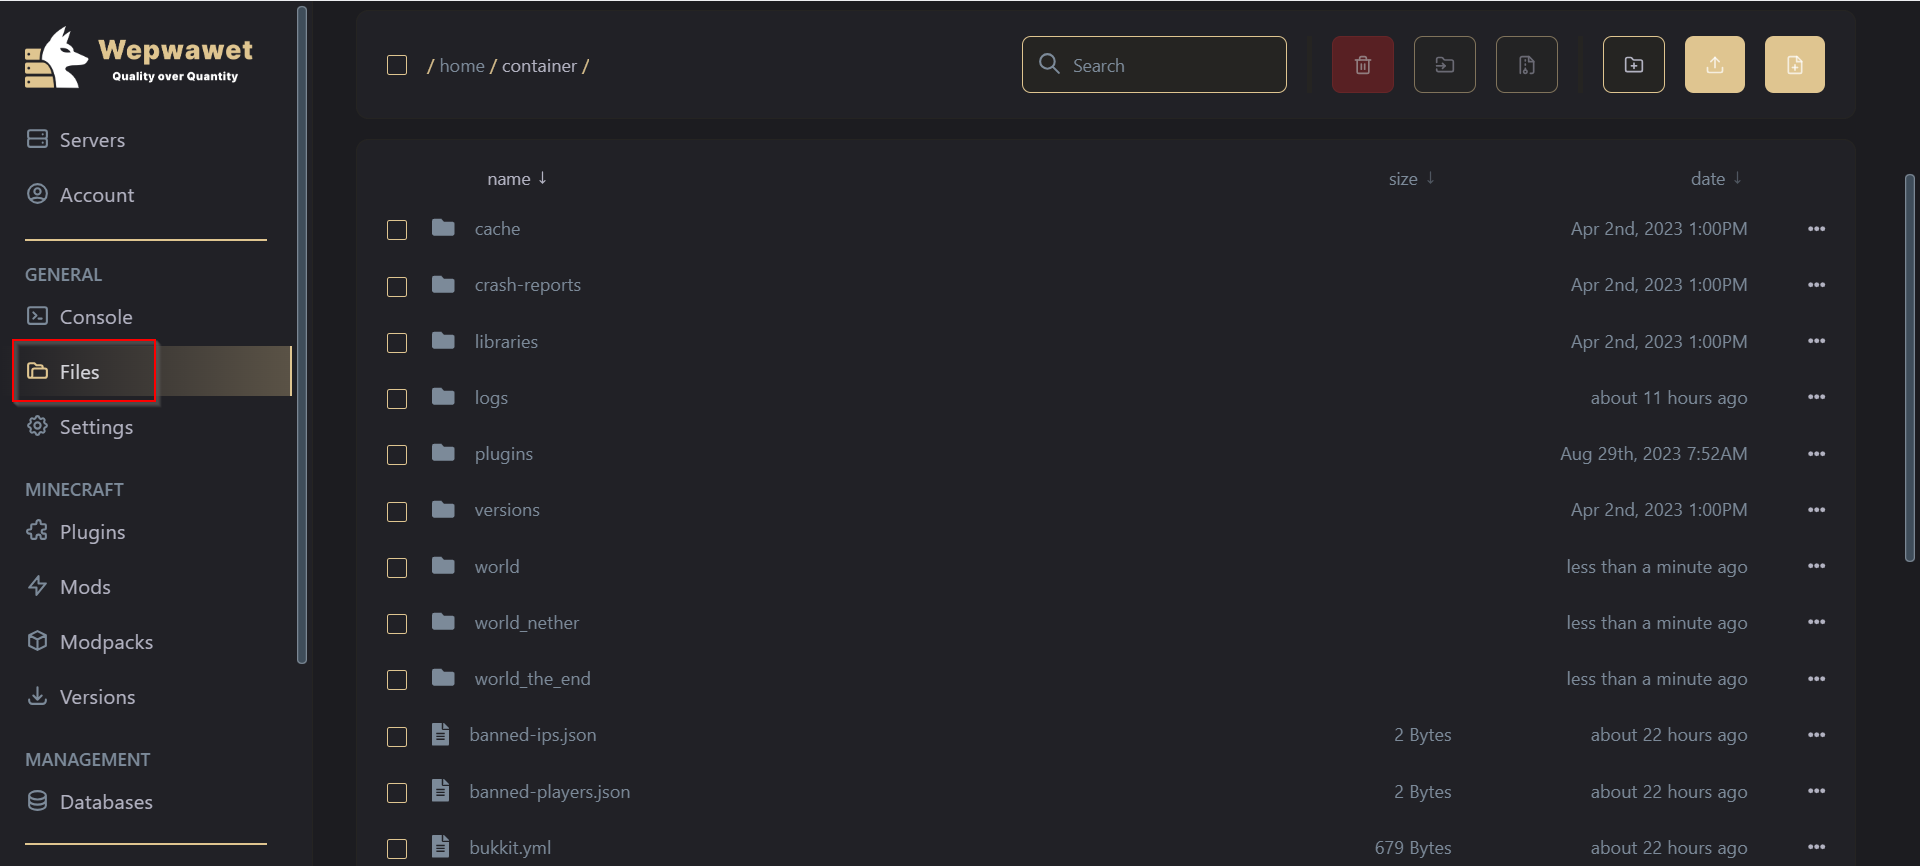
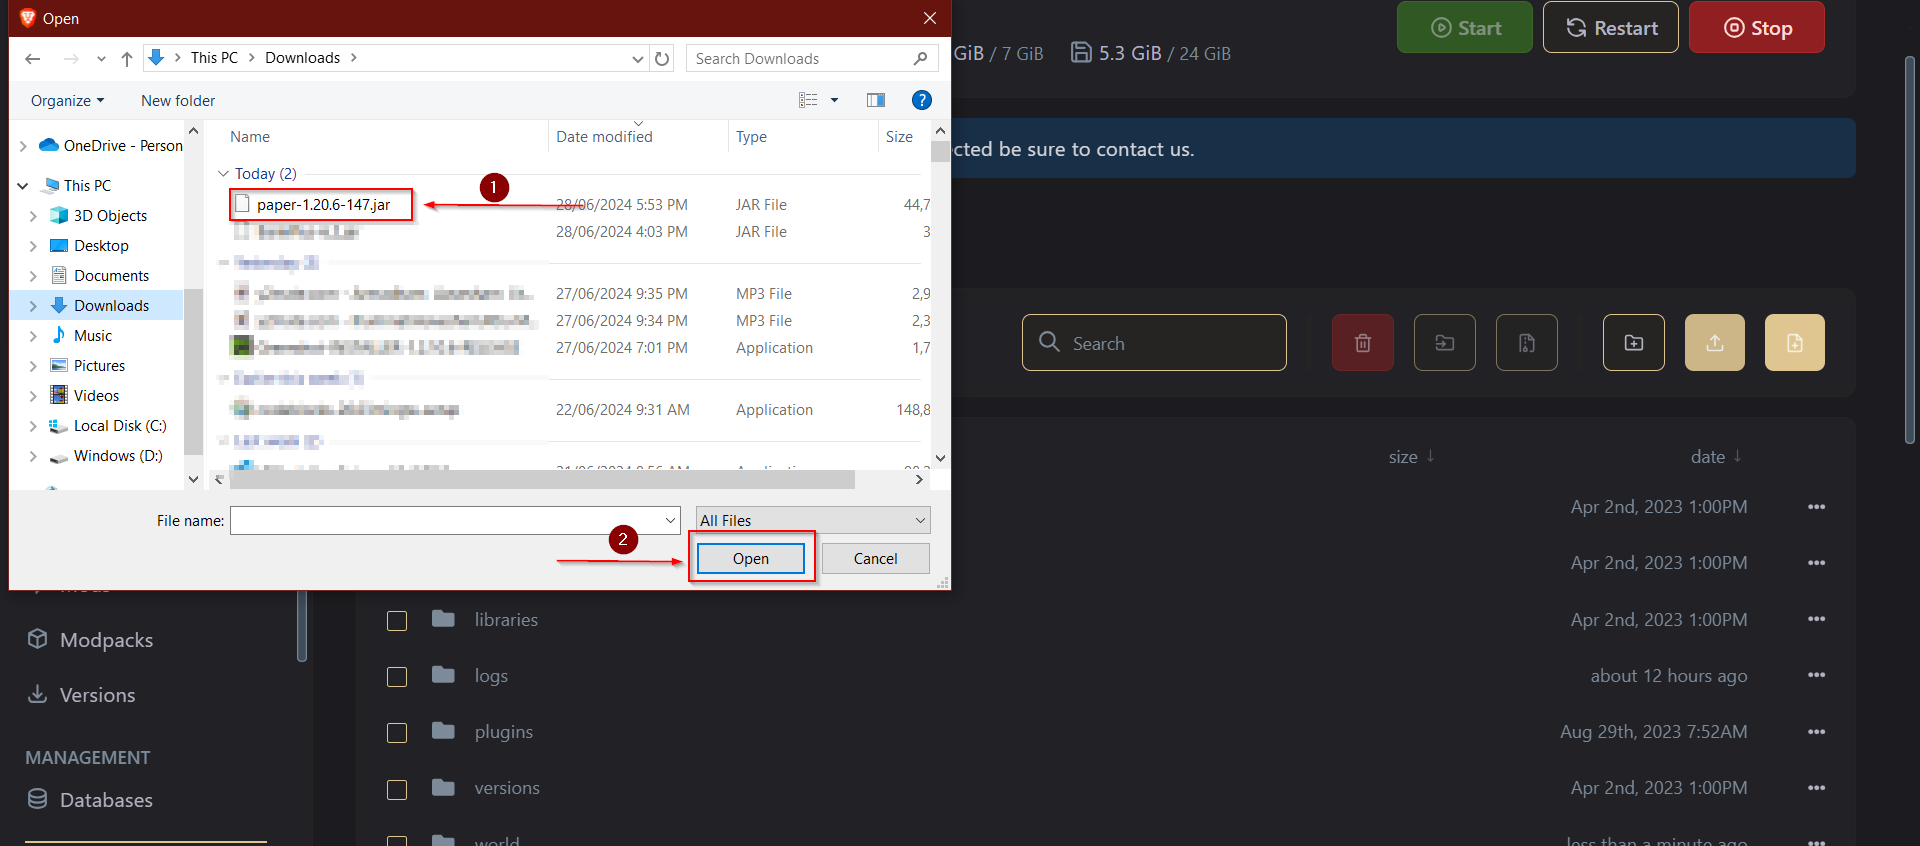
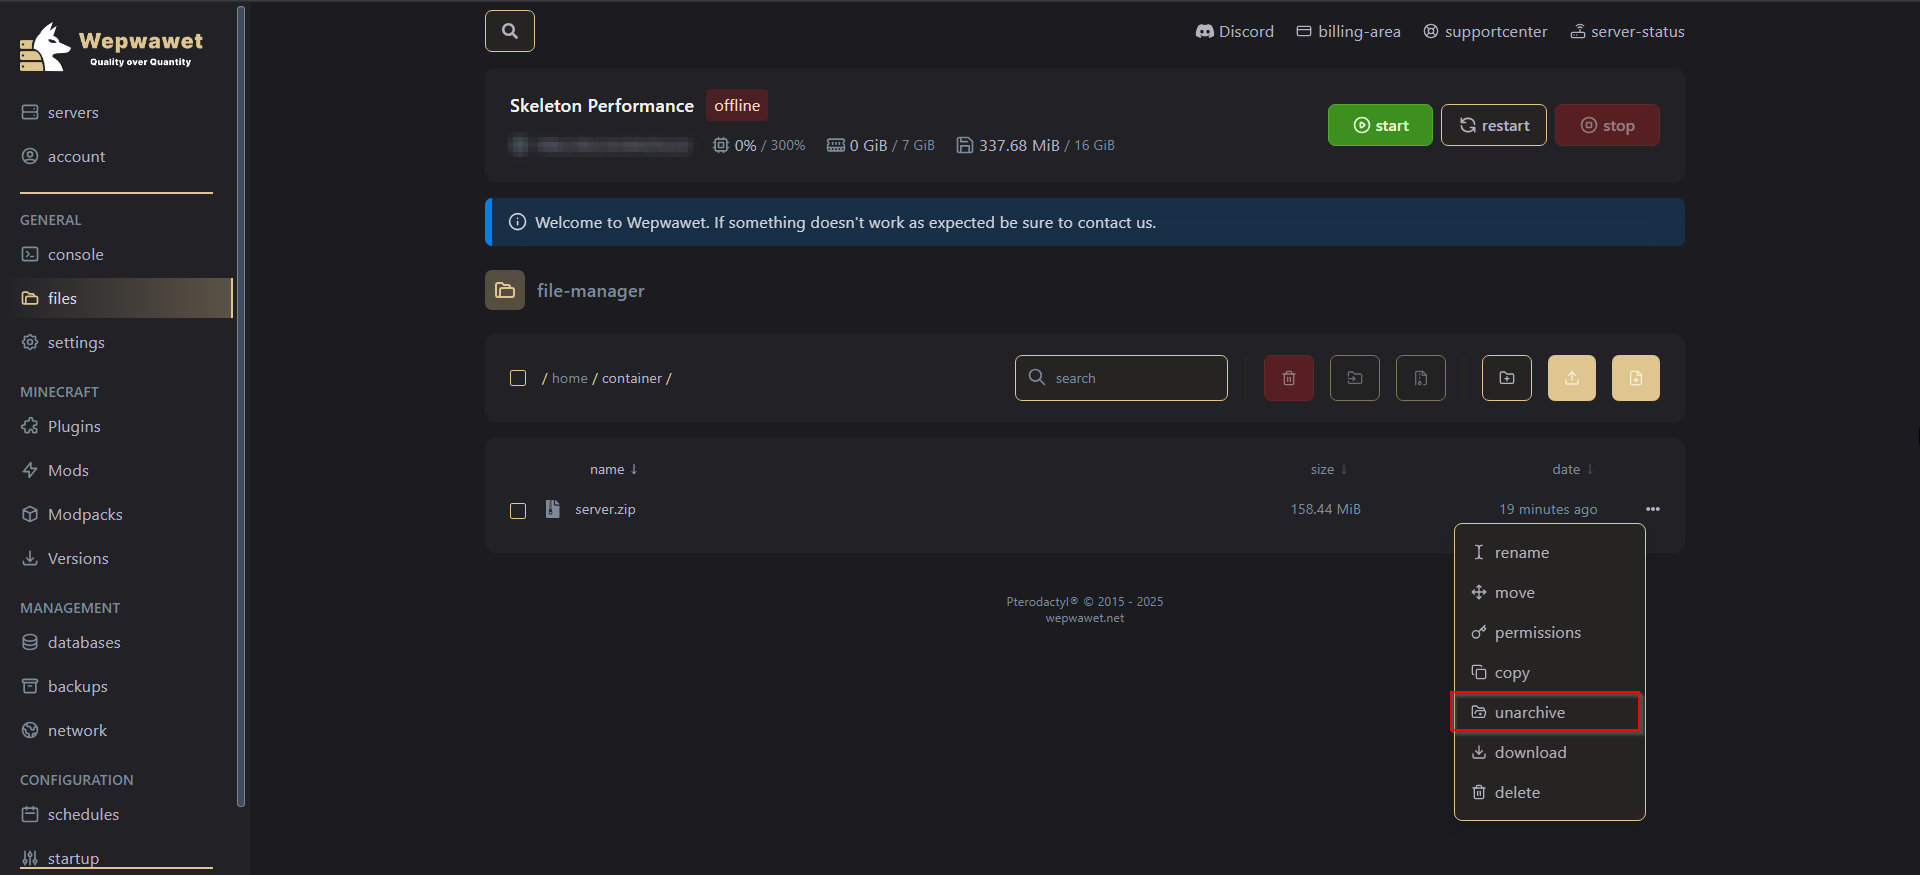
Click on your preferred server, Head over to the Files tab and delete all the files and upload the zip file you created in the previous step.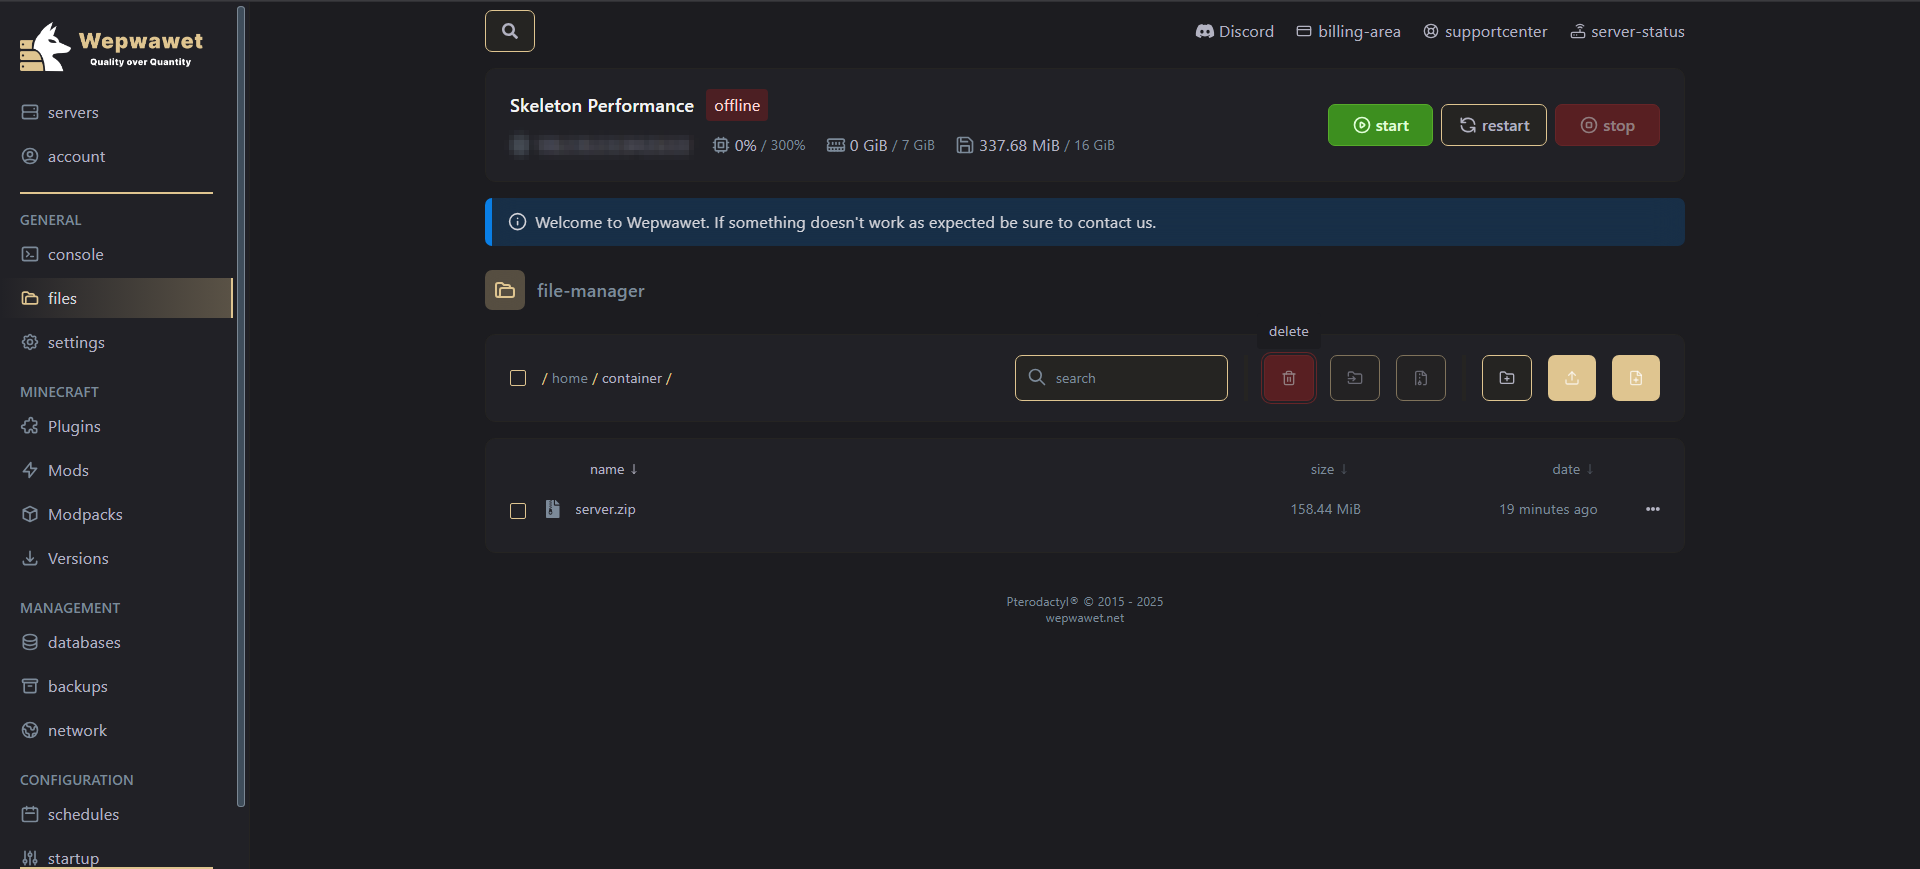
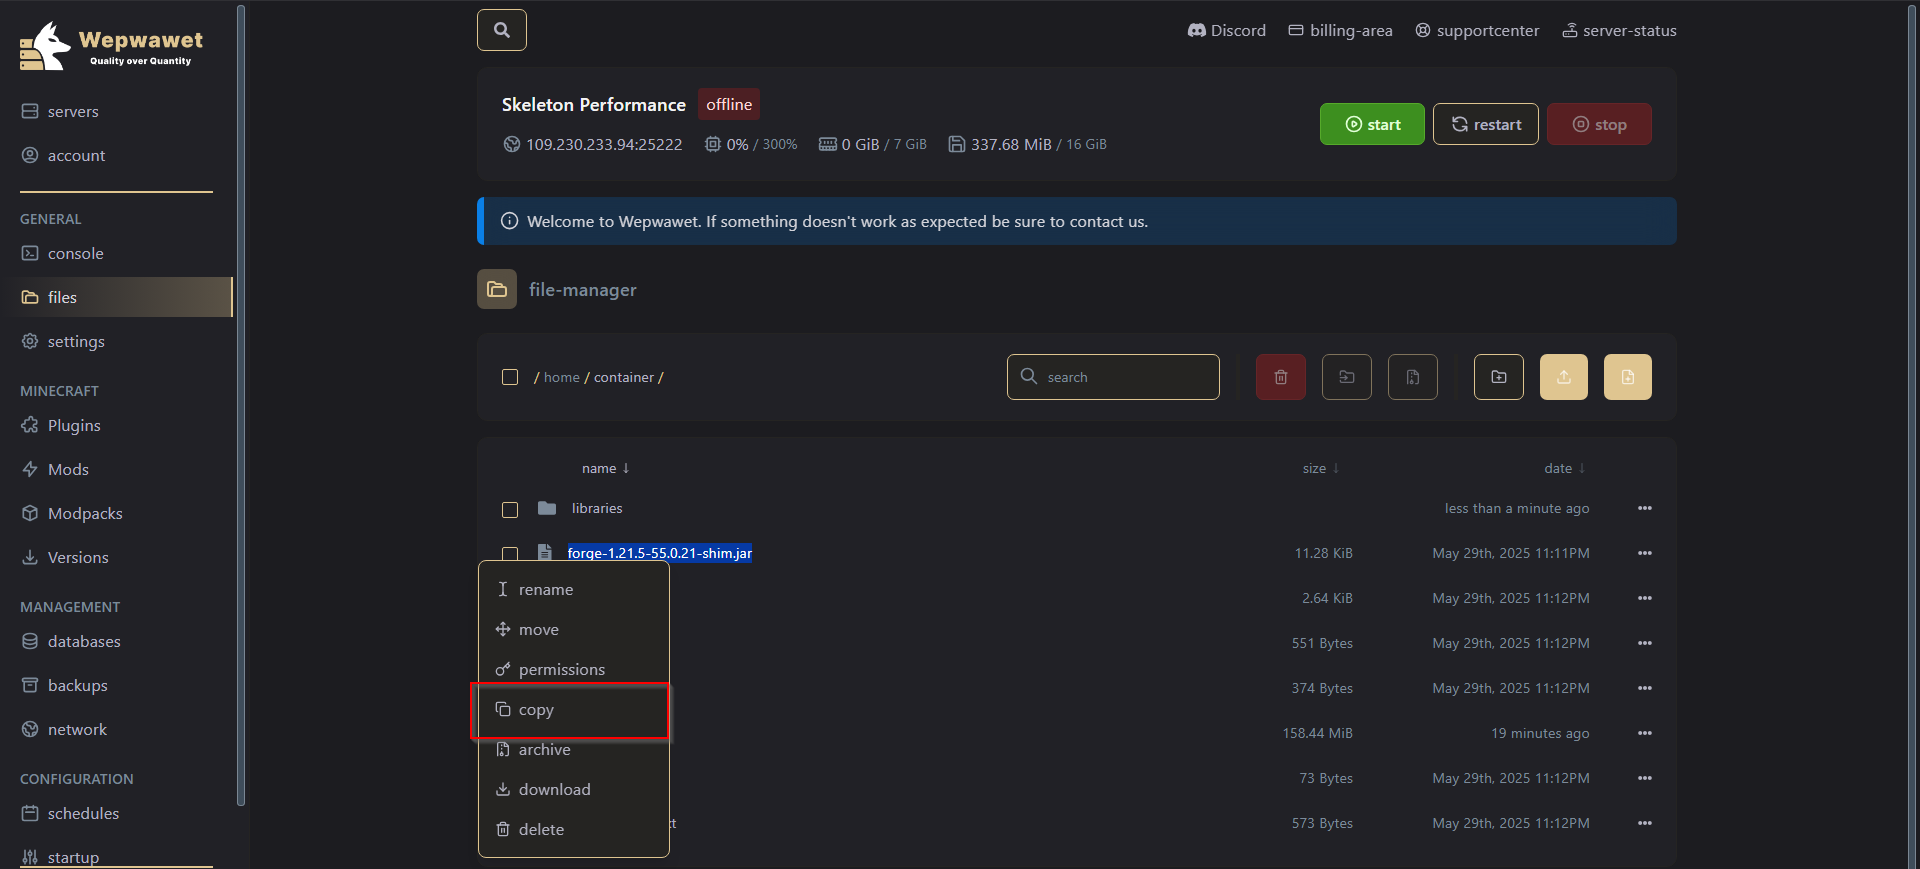
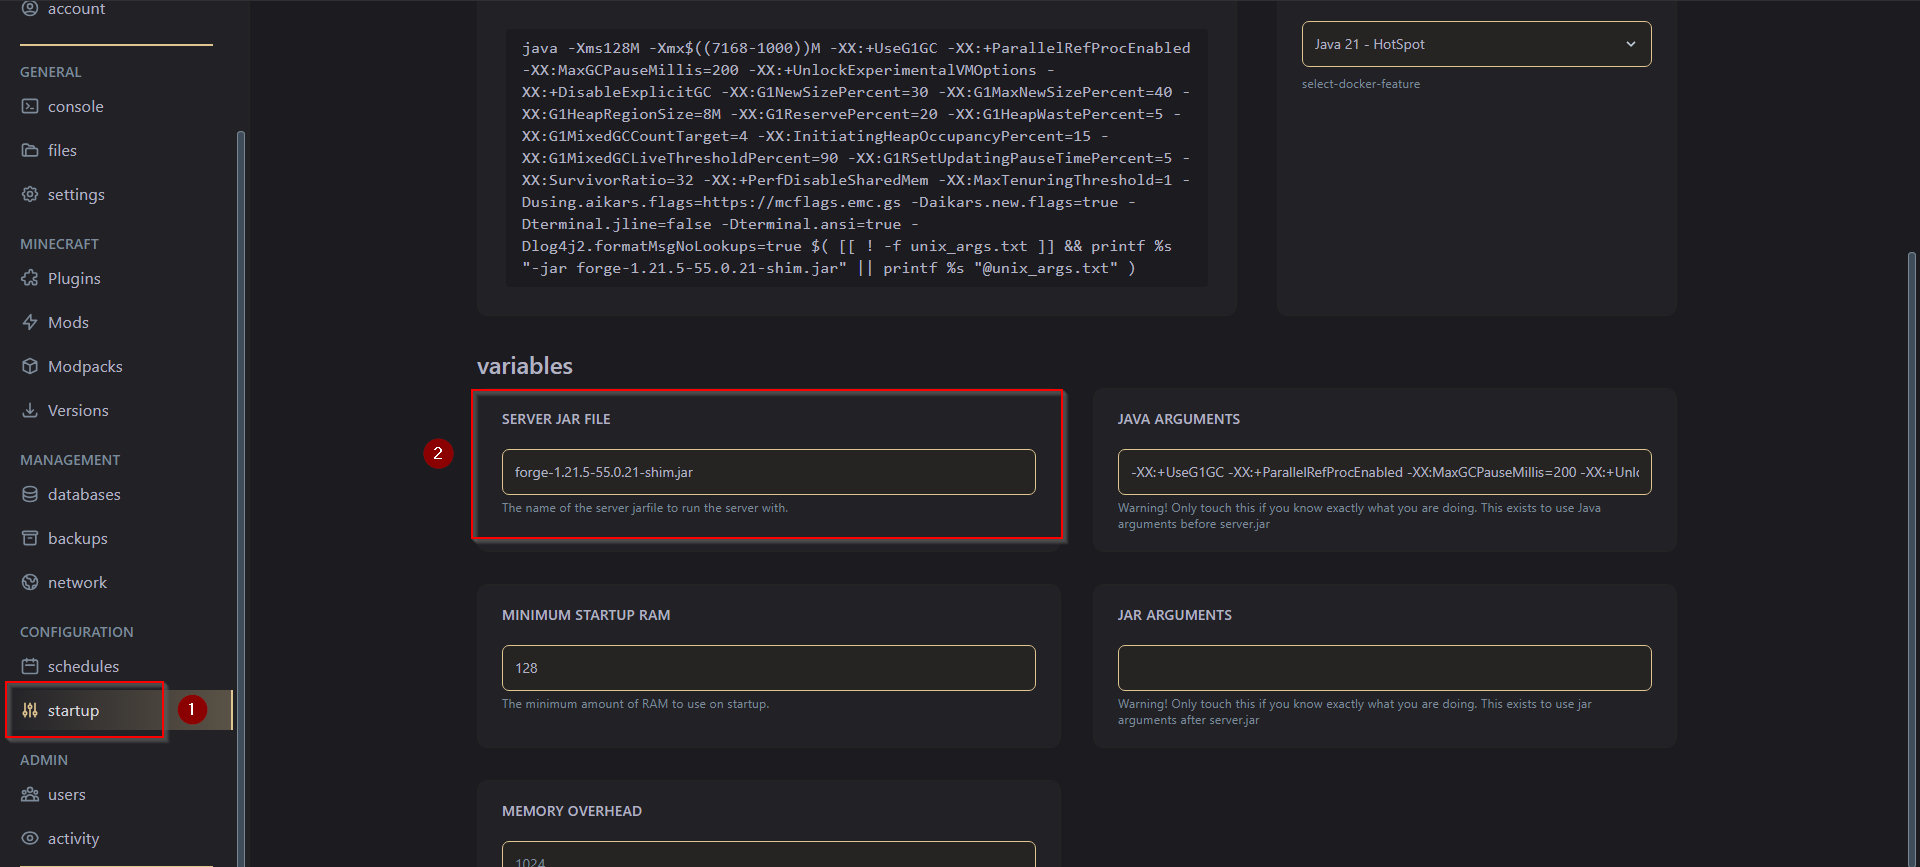
Eleventh Step
Head over to the Startup tab and paste the name of the .jar file in the SERVER JAR FILE field.